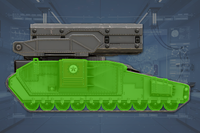
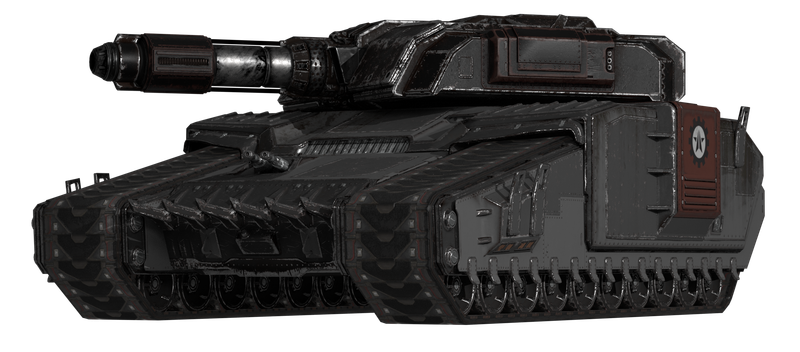
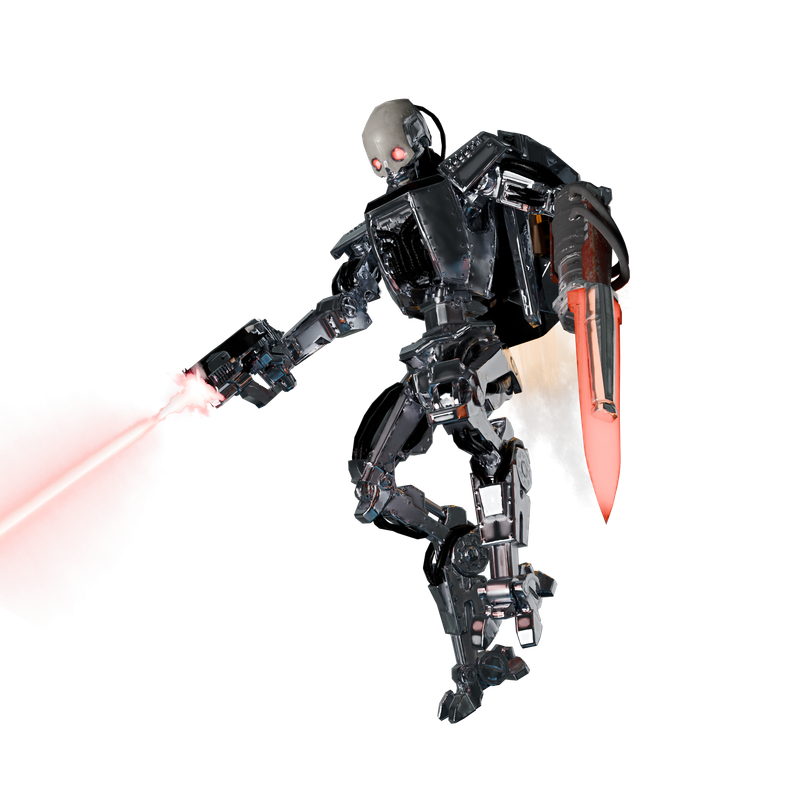
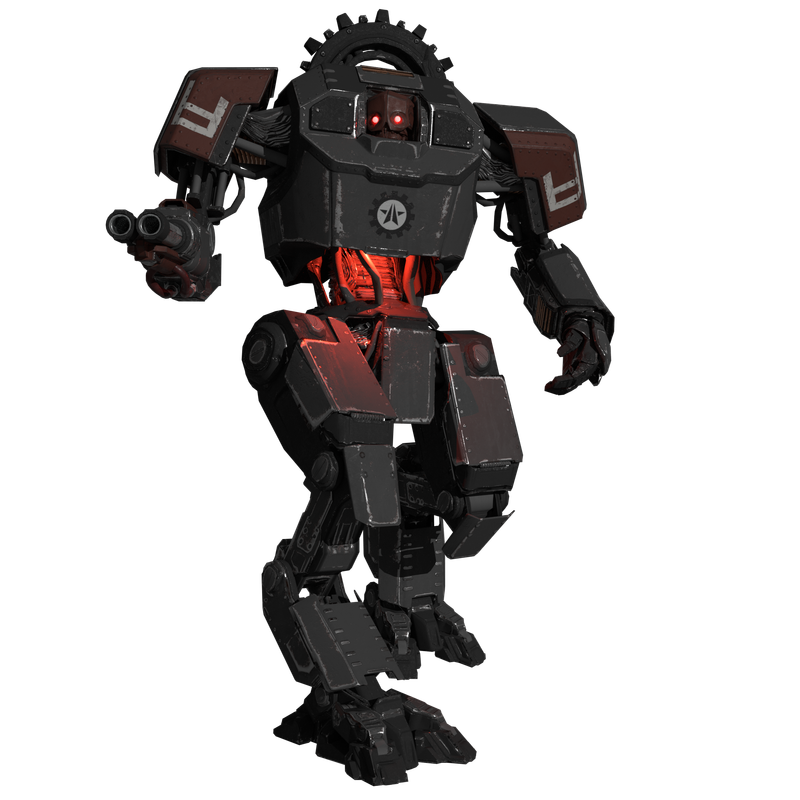
BARRAGER TANK
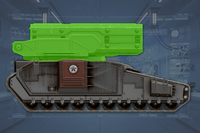
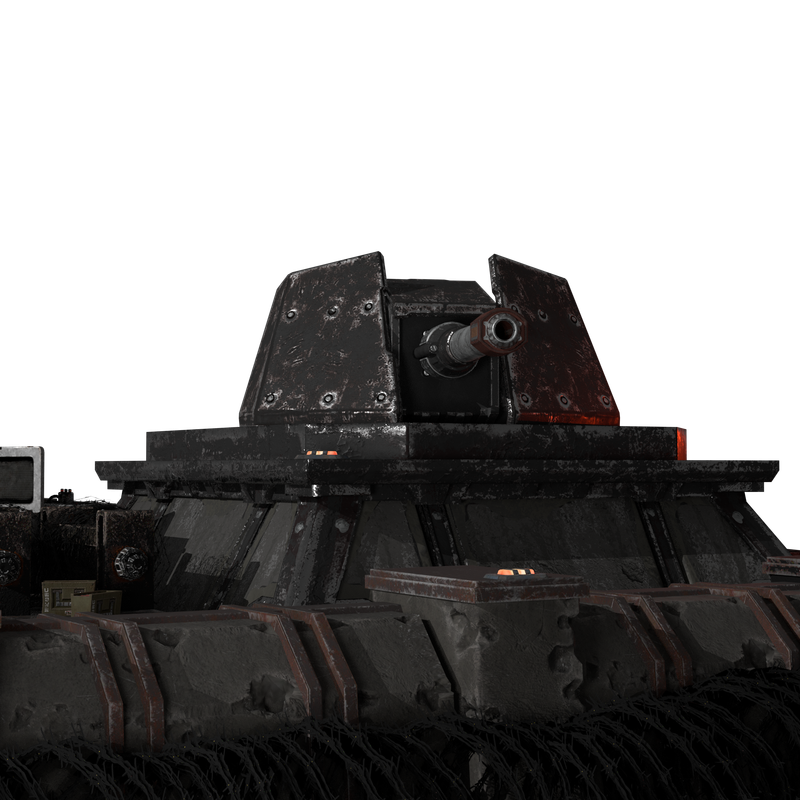
The Barrager Tank, also known as the Rocket Tank, is a very large Automaton vehicle and variant of the Annihilator Tank that has its Fusion Battle Cannon replaced with the equally dangerous Heavy Multiple Rocket Launch System (MRLS).
TACTICAL BRIEF
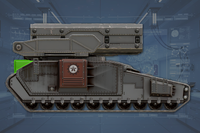
• The Heavy MRLS may oddly clip through the Tank's hull, causing it to shoot lower than expected.
• It fires rockets similar as the Reinforced Scout Strider, albeit with more than double the blast radius, capable of posing a threat to Helldivers even if it misses its target.
• Similar to Mortar Emplacements, Helldivers should prioritize destroying Barrager Tanks, as their artillery mode can greatly disrupt combat and reduce hard cover's (such as terrain) effectiveness.
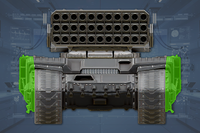
• The turret features weak spots at the front and back, each with 750 Health and Medium armor. The R-36 Eruptor can 2 shot the launch tubes.
• The PLAS-45 Epoch can 1 shot the launch tubes with a fully-charged bolt.
• The Eagle Strafing Run consistently destroys the launch tubes in a single use.
• Recommended stratagems to use to dispatch Tanks are Eagle Airstrikes, Eagle 110mm Rocket Pods, Eagle 500kg Bomb, Orbital Precision Strike, Orbital Railcannon Strike or Orbital Laser. The Eagle 500kg Bomb and Orbital Precision Strike both need to be direct hits to destroy the tank.
• A single G-123 Thermite or one shot to the hull from the FAF-14 Spear, GR-8 Recoilless Rifle or GP-20 Ultimatum can destroy the tank.
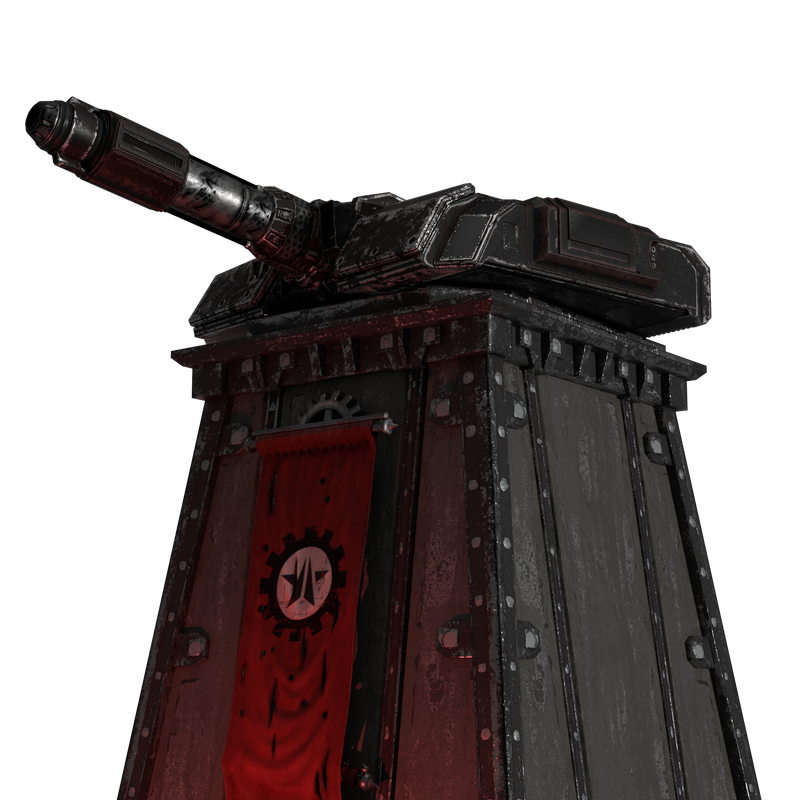
• The rear chassis of a Tank is also vulnerable to weaponry such as the APW-1 Anti-Materiel Rifle and AC-8 Autocannon.
• Tanks can be immobilized by destroying its tracks using Medium armor-piercing weaponry.
• The Tank's tracks will do constant damage to a Helldiver that makes contact with it.
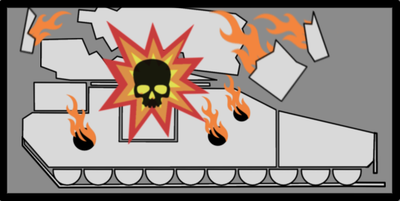
• Once destroyed, there is a short delay before the Tank explodes, which can deal damage and knockback Helldivers. A destroyed Tank is a convenient defense position that a Helldiver can briefly utilize.
• Destroying a Tank by a landing on it with a Hellpod will give little time for Helldivers to escape the explosion.
ATTACKS
Weapons and melee strikes this unit can perform. Each card shows the wiki's illustration, a one-line description, and the full stat table (Damage, Armor Penetration, Fire Rate, Stagger, etc). Values are passed through verbatim, so multi-line cells like "350RPM (2-Round Burst) / 1.2s (Between Bursts)" stay readable.
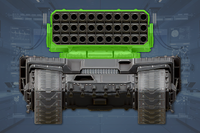
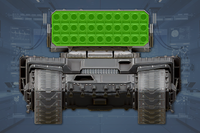
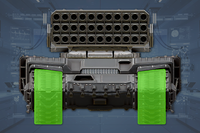
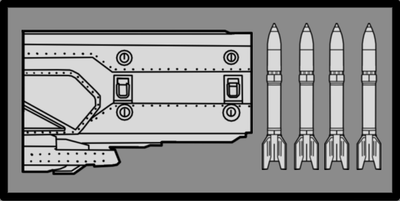
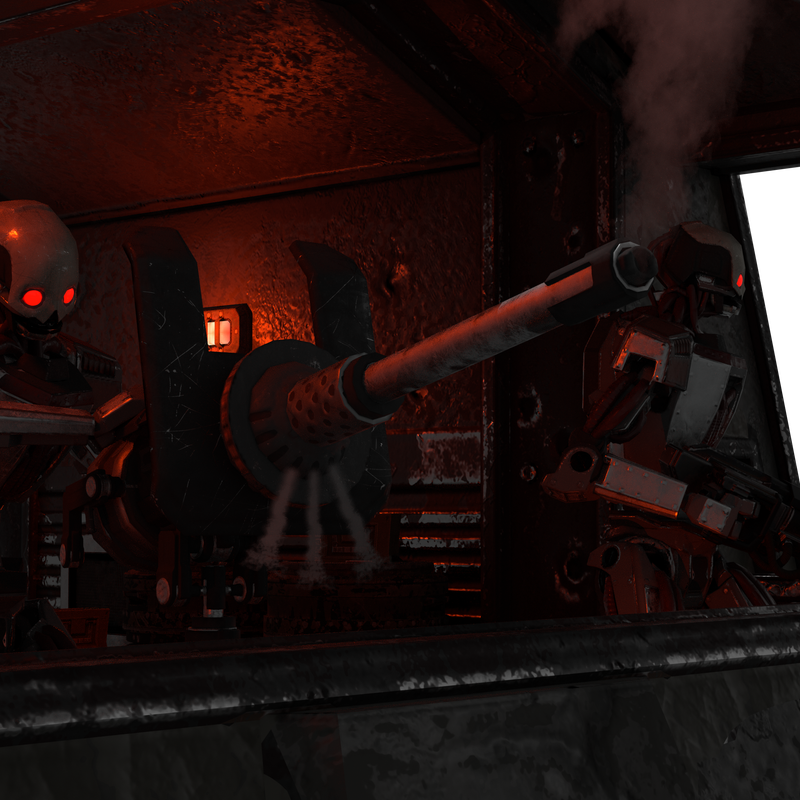
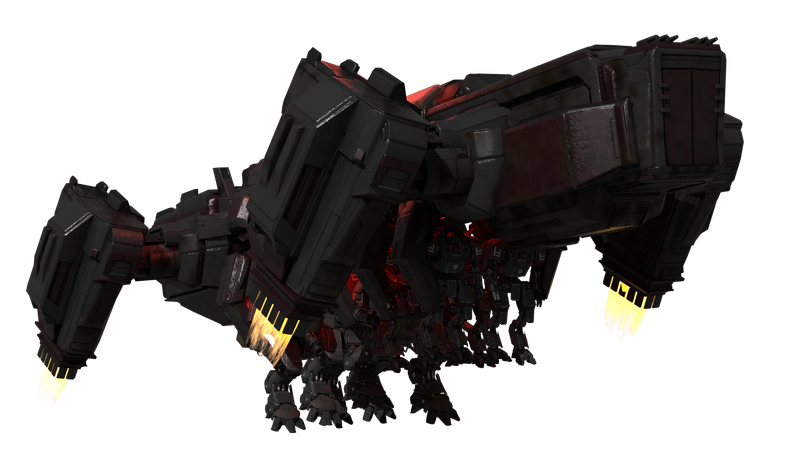
A massive, 33-barrelled launcher array. The Barrager Tank is loaded with massive Ballistic Rockets, each one capable of atomizing an unsuspecting Helldiver, or sending the less lucky cartwheeling by violent, concussive blasts.
| Damage | 30 Impact Damage / 100 Durable Damage |
| AOE | 400 Blast |
| Inner | 2m |
| Outer | 10m |
| Shockwave | 20m |
| AP | 5/4/5 |
| AP | 6/5/4/0 |
| Fire Rate | 60RPM / 1s (Practical) / 3 Rockets per Volley / 8s (Reload Time) |
| Spread (Mrad) | ↔[300.00] ↕[200.00] |
| Demo Force | 20 (Warhead), 40 (Blast) |
| Stagger Force | 50 (Warhead), 40 (Blast) / (Both Ragdoll) |
| Push Force | 25 (Warhead), 100 (Blast) |
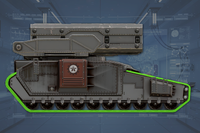
Given the sheer power of the Barrager Tank's rockets, it is perhaps no surprise that, should one of these warheads detonate prematurely, the resulting explosion will be a sight to behold.
| Damage | 1 Impact Damage / 1 Durable Damage |
| AOE | 100 Blast |
| Inner | 0.8m |
| Outer | 8m |
| Shockwave | 25m |
| AP | 10/9/10 |
| AP | 10/0/0/0 |
| Fire Rate | Death Explosion |
| Spread (Mrad) | Death Explosion |
| Demo Force | 20 |
| Stagger Force | 200 (Ragdolls) |
| Push Force | 500 |